


To enable the Jira integration, you must be an administrator.
Step 1: Navigate To The Integration Page
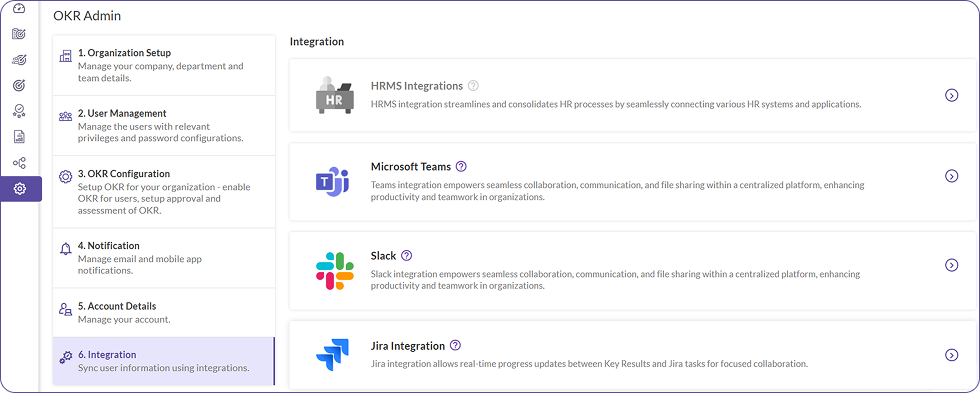
- Navigate to the OKR Admin section.
- Go to the Integration section.
- An option called Jira Integration should be visible. Click on this to open the integration page.
Step 2: Integrate With Jira
- On the Jira Integration page, you must see a toggle to “Turn on progress update using Jira”.
- This feature allows you to update key result progress based on the number of tasks completed in Jira.
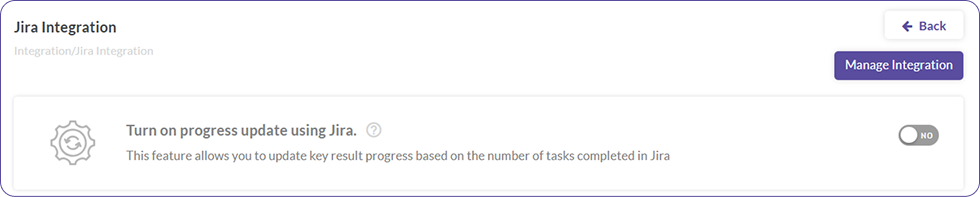
- The toggle will be off by default. When you turn it on, a pop-up titled “Integrate with Jira” should appear for the connection setup.
- In the pop-up, enter the following mandatory details:
- Email Address (In Jira): Enter the admin's Jira email.
- Server: This field should be filled with your Jira server URL. (e.g., http://my-company.atlassian.net/)
- API Token: Enter the API token generated from your Jira account. You can generate this token by visiting Manage Profile >> Security >> API Tokens.
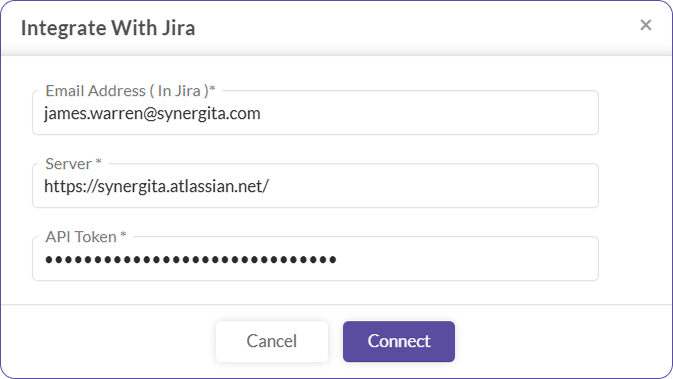
- Click the Connect button to validate the credentials with Jira.
- If the credentials are valid, the Jira connection will be established successfully.
Step 3: Managing Integration Settings And User Access
After connecting to Jira, you can configure progress calculations and control user access from the Manage Integration page.
Access the Manage Integration Page
- Click on the Manage Integration link, which should be placed above the toggle button.
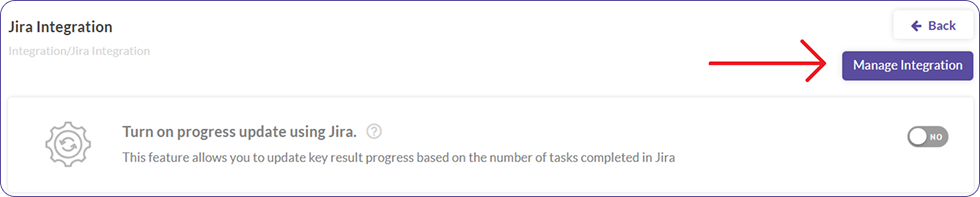
- This will open a new page split into three sections, each with clear headers: Jira Credentials, Progress Calculation Settings, and User Access Control.
Jira Credentials
- If there are any changes with the credentials in Jira, it should be updated in this section.
- Admins can change any of the fields and click on the Connect button.
Configure Progress Calculation Settings
- This section has three numerical boxes for the status categories: To Do, In Progress, and Done.
- The default percentage values are 0% for To Do, 50% for In Progress, and 100% for Done.
- The progress of the linked key results will be calculated based on the status of Jira issues based on the values filled.
- You can change these values as per your organization, between values 0 and 100. Always ensure that the values follow the logical order: To Do < In Progress < Done. If this condition is violated, you will be unable to save this.
Control User Access
- This section allows the admin to define which users are permitted to use Jira Integration within the product.
- There are two radio button options: Allow all users and Allow selected users.
- By default, Allow all users will be selected. If you click on Allow selected users, a pop-up titled “Edit Jira Users” will be displayed.
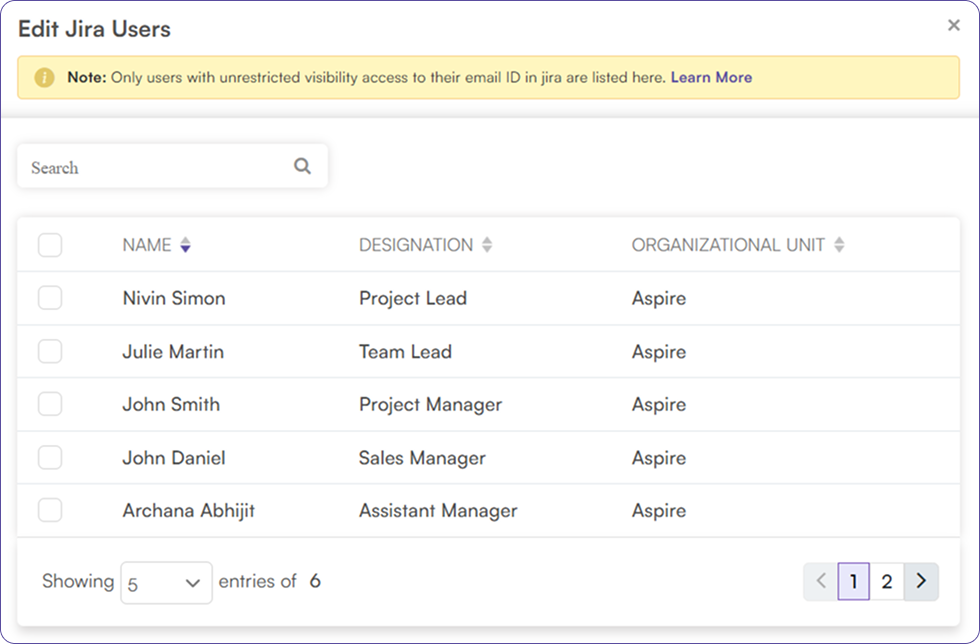
- The pop-up shows a searchable, paginated list of all active users in the tenant, with columns for Name, Designation, and Organizational Unit (OU).
- Once you select one or more users and click Save, only the selected users will have access to link Jira.